Wednesday, April 4, 2012

Homemade Tortillas

I used to buy flour tortillas all the time, until a friend of mine gave me this recipe for flour tortillas. I have never bought them again. Surprisingly, these are not that difficult or time-consuming to make. Here's what you need:

2 3/4 c flour
5 T lard
3/4 t salt
3/4 c warm water

I'm not gonna lie. These taste better with white flour, but I have substituted white wheat flour and they were still better than the grocery store tortillas. When I took pictures for these tortillas, I used 1 c white wheat flour and 1 3/4 c white flour.

First, combine the flour and lard in a large mixing bowl, working the fat in with your fingers, until completely incorporated.

Dissolve the salt in the water and pour over the dry ingredients and immediately work in with a fork. The dough will be in large clumps. Make sure that it all has been dampened. Then I get my dough hook going to knead it until it's a smooth ball. It should be medium-stiff consistency.

Divide the dough into 12 portions and roll each into a ball. Set them on a plate and cover with plastic wrap. They need to rest for at least 30 minutes - this makes them easier to roll.

After they've rested, you'll want to heat up a griddle or a cast iron skillet until it's very hot. While it's heating up, I get started on rolling the tortillas. I start with a tortilla press. It's not necessary for these, but I like it because it keeps them semi-round. My kids like to help with this. It's their favorite part.

They press it down as hard as they can so the ball looks like this.

It's too thick as is, so then I roll it out with a rolling pin. If you start from the center and roll out, slowly working around, you'll get pretty close to a circle.

You want the tortilla to be paper thin. When it's nice and flat, then you can peel it off the counter and plop it on your hot skillet or griddle. It should bubble up right away.

After about 30 seconds you can flip it over. It should have those official brown markings on them. 30 seconds more and you've got yourself a homemade tortilla. Be careful not to leave them on too long. They'll be more like crackers than tortillas if you do.

I keep them in a clean dish towel as the others are cooking. You can set up an assembly line with your kids and have them all cooked in no time. This recipe makes 12 tortillas.

Recipe from Chef Rick Bayless rickbayless.com

Now I need to figure out how to make corn tortillas...

Tuesday, April 3, 2012

The Oranges

I love oranges. They just hit the spot in the winter for me. Maybe because it's about 80 degrees in the winter here and it's nice and refreshing. I have a hard time buying oranges from the grocery store since I've had an orange tree in my yard for most of my life. Those ones at the store are watery and gross. I was a little disappointed with our orange tree this year. We didn't get a whole lot of oranges, so we ended up getting a bunch of blood oranges from my in-laws. Their orange tree seemed to have no problem this year. I'm thinking it might have been a building year for our tree, since I cut it back a bit. When spring hit, it blossomed like crazy. There might have been more blossoms than leaves, but I can't be sure. All I know is that right now there are swarms of bees in the backyard, taking care of all the blossoms.

Since I didn't get my fill of oranges this winter, we ended up buying a bunch last weekend. I know it's late in the season for oranges, but I couldn't resist. We had just run a 5k and were driving home, taking our usual route that takes us by cows and donkeys and llamas. Before we drove by the donkey, we saw a sign for a ranch selling oranges. (All of these animals live around the orange groves) We had heard about this place from friends so we decided to stop by and check it out. We ended up getting 20 pounds of oranges for $5. And they are delicious. They taste as good or better than the ones from our tree. Needless to say, I was impressed.

If you're in town, you should check them out. I don't remember the name of the ranch, but they usually sell on Saturdays and they have signs out. It's on Johnston between Soboba and Lake. They sell baked goods and marmalade too. We've been eating our oranges like crazy and have only gone through about a quarter of the bag. Not bad for $5.

Monday, April 2, 2012

Pasties

I remember going to piano lessons and baseball games as a child and my mom would bring these pasties along for our dinner, since we didn't have time to go home for dinner. They were great for an in-the-car meal because they were filling and good. These definitely beat fast food. With a little preparation, you can still have a home-cooked meal on the go.

Dough:

2 1/2 - 3 c flour (wheat flour can be used)
2 1/2 t yeast (or 1 package)
1 c milk
1 t salt
1/4 t sugar
sometimes I add a 1 T of orange juice if I'm using all wheat flour

Filling

1/2 lb hamburger
1/2 chopped onion
1 clove garlic, minced
1/2 c tomato sauce
2 T parmesan cheese
2 T chopped parsley
1/4 t salt
1/4 t cinnamon
1/8 t pepper
1/8 t ground ginger

In a mixer bowl, combine 1 1/2 c flour and the yeast. In the microwave, heat milk, 1 t salt and sugar until just warm. Add to flour mixture. Beat at low speed for 30 seconds scraping sides constantly. Beat 3 minutes at high speed. Stir in as much of the remaining flour as you can. Using the dough hook, knead in as much of the remaining flour as you can to make a stiff dough, about 6-8 minutes. Place in a lightly greased bowl, turning once to grease the surface. Cover and let rise until doubled in bulk, about 1 hour.

Meanwhile, brown hamburger, onion, and garlic. Drain off any grease and stir in remaining ingredients. Heat through.

Punch down dough and divide into 12 pieces. Flatten balls of dough into a circle and place about 2 T of meat mixture in the middle. Bring edges of dough around meat and pinch to seal. Place on a lightly greased baking sheet, seam side down. Bake at 400 for 20 minutes, or until golden brown.

Don't be intimidated by the spices. It gives the meat a unique flavor. You can wrap them in foil and take them with you to your kids' activities. Bring some fruit or veggies and you've got yourself a well-rounded meal. The key is to get it all ready in your down time, so it's ready to go when you are.

Friday, March 30, 2012

Spring plant sale

I just read in the paper about a spring plant sale that UCR is putting on for the next two days. It looks like they have over 10,000 plants for sale, including heirloom vegetable plants! I'm thinking of checking it out, if we have time. Tomorrow is a busy day. If you feel like taking a drive out to Riverside, there will be a ton of plants available, including local, drought resistant plants. You can find more information here. Have a great weekend!

Thursday, March 29, 2012

Granola Bars

I finally succeeded in making a yummy granola bar! I've been playing with different ingredients and found some that I like. I started with a recipe from here and added some stuff and took some out. This one I made for a snack to munch on during the day. They say to use steel cut oats for granola bars so they will hold together better. I have been unable to find any in local grocery stores, maybe because I'm blind and am just missing them. For these I used rolled oats, but got the quick cooking kind because they are smaller. It held together ok, but I am going to try to hunt down some of the steel-cut variety. The beauty of this recipe is that you can use it to make the bars OR the cereal. I was excited by this because I LOVE granola, but it is expensive so I never buy it. I don't know why it is so pricey. The ingredients are not expensive. Enough with my rambling and on with the recipe!

3 1/2 c rolled oats
1 c sliced almonds
1 c peanuts
1 c unsweetened coconut
1/2 c sunflower seeds
1/2 flax seeds
1 bag chocolate chips (the darker chocolate is better, but any will do)
6 T butter
1/2 c honey
2 t vanilla extract

Preheat oven to 250 and cover a baking sheet with parchment paper. Mix oats almonds, peanuts, coconut, and seeds in a large mixing bowl. Heat the butter and honey together in a small sauceoan over low heat. Once the butter melts, stir in the vanilla. Pour the hot liquid over the dry ingredients and stir until evenly coated. Spread mixture onto prepared pan in one even layer. Bake for 1 hour 15 min. It will become crisp as it cools. You can break into large pieces for bars or smash it in a ziploc bag for cereal.

The recipe is so versatile you can really put whatever you want in it. I've heard you can put a little oat flour in it to help it stick together if you want bars. I'm going to try it with raisins and cinnamon and other dried fruits that I come across. The flax seeds are an added bonus, too. They are rich in health promoting fatty acids. And there is no coconut flavor from the coconut if you are not a coconut fan.

What do you like in your granola?

Wednesday, March 28, 2012

Crushed Tomatoes

Earlier this week I was given a bunch of these:

I knew I wasn't going to be able to use them all before they went bad, so I tried canning some of them. I already used canned crushed tomatoes when I make spaghetti sauce so I thought it would be perfect to try to make these into crushed tomatoes. I looked online to see how to do it and found the National Center for Home Food Preservation. It had some good tips and instructions so I gave it a go.

First I dropped the whole tomatoes in boiling water.

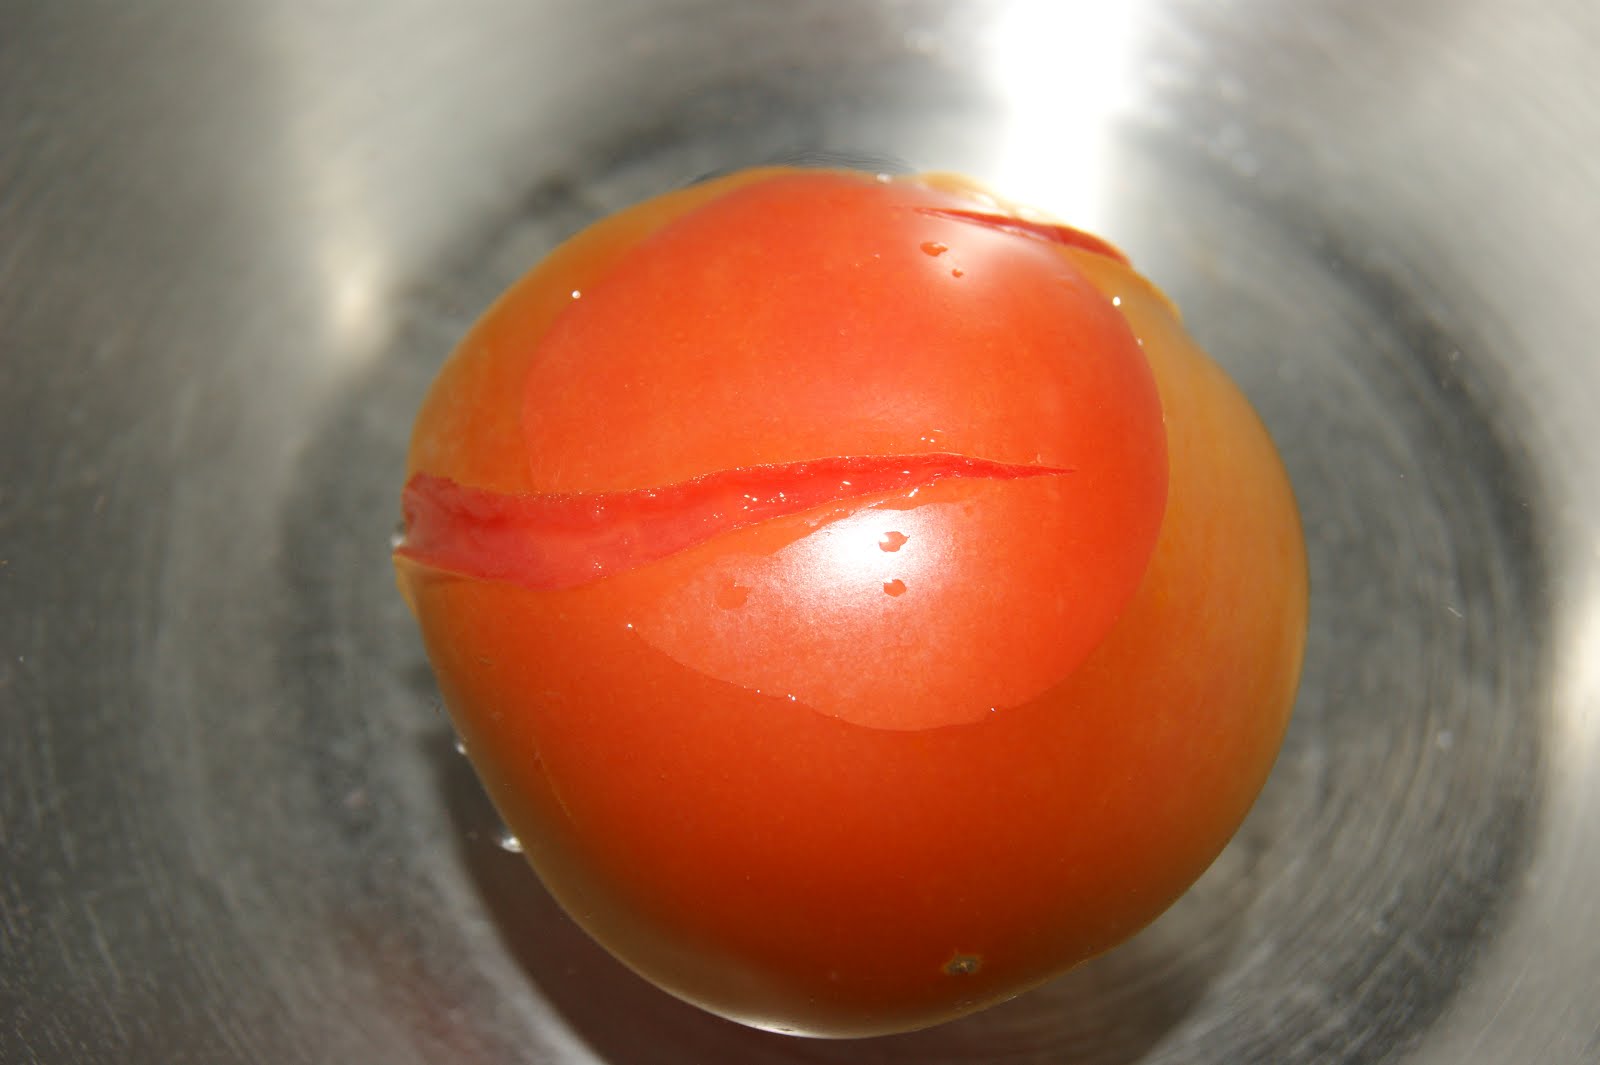
I left them in there until the skin split and then put them right into cold water.

Once they were cooled off enough to handle, I just slid those skins right off. I cut out the hard part at the top of the tomato and then cut it in half. I tried to get most of the seeds out, but then I got lazy toward the end, so there were still quite a few seeds in there.


Next, I put them all into a pot and heated them up while smashing them with my potato masher. I stirred and smashed until it started boiling.


The tomatoes started falling apart as they got hot and turned into a chunky bubbling sauce. I boiled them for about five minutes. Next, I got my clean, quart size canning jars and put two tablespoons of lemon juice in each one to raise the acid level. Then I poured the hot crushed tomatoes into the jars.


I had almost enough to fill both jars. Usually, they say you're supposed to be pretty exact with canning, but I didn't have enough to be exact. I canned them anyway and I'll keep a close eye on them to make sure they stay ok. I pressure canned the tomatoes at 10 lbs of pressure for 15 minutes and let them cool.

I can't wait to try these out next time I make spaghetti sauce. It really didn't take much time and I'm hoping the flavor is good too.

If you do not have a pressure canner, I would recommend looking into getting one. It's great for preserving the harvest from your garden and you don't need electricity to keep it in good shape. I'm hoping we get lots of tomatoes this year, so I can keep a lot of jars of crushed tomatoes on hand.

Monday, March 26, 2012

Swiss Chard

I never know what to do with swiss chard. I buy it every week and have tried several different ways to cook it. A few weeks ago, I found a recipe off the Food Network website from Rachael Ray that was really yummy (I think mostly because there's bacon in there). I feel good about eating my greens with lots of rice and bacon.

2 T extra-virgin olive oil
3-4 slices of bacon
2 cloves garlic, minced
1 small bunch swiss chard, stemmed and chopped
nutmeg
salt and pepper
1/2 t paprika
1 c rice
1 3/4 c chicken stock

Heat oil in a saucepot over medium heat. Add the bacon, cook two minutes, then add the garlic and stir one minute. Add the chard and season with a little nutmeg, salt, pepper, and paprika. When the chard is wilted add the rice and stir one minute more. Add chicken stock and bring to a boil. Reduce heat and simmer and cover the pot. Cook 15-18 minutes, or until the rice is tender. Fluff with a fork and serve.